To manually create student groups in Moodle:
- From the course page contextual navigation menus (just below the course title), click on Participants.
- From the drop-down menu (to the left of the ‘Enrol users’ button), select Groups.
- Scroll down the page and click the Create Group button.
- In the next window complete the Group name and optionally Group description. Click Save changes.

- To add members to a group you have already created, click a group title, and then click Add/remove users.
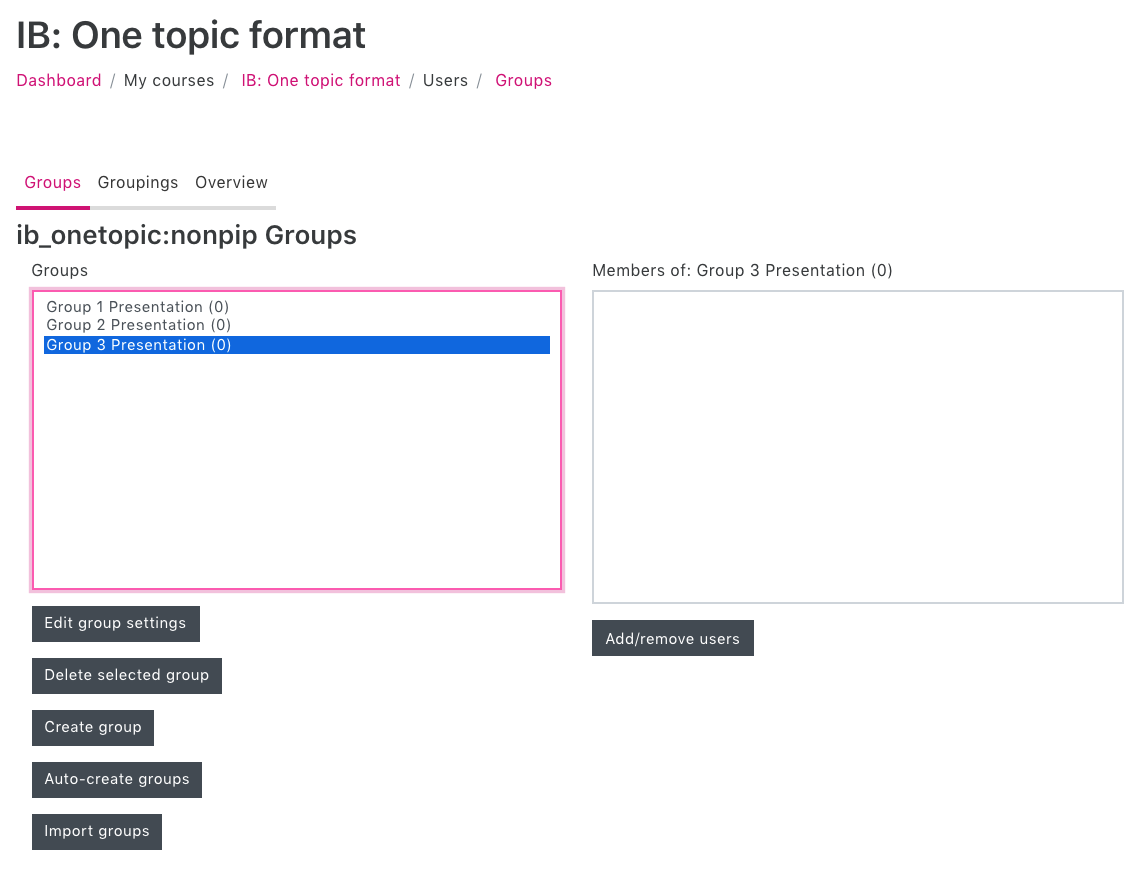
- Select the desired names from the list that appears.
To select more than one name at a time hold down Ctrl on a PC (or Command on a Mac). Alternatively, use the Search box at the bottom of the Potential members column to find a specific name.
- Once you have selected the names you want, click Add. The names will then appear in the Group members column on the left hand side of the screen.

- Now that you have created your groups, to use them within a Moodle activity, you’ll need to create a Grouping; see How do I create Groupings in a Moodle course? for more information