Why should I restrict access to a ‘Resit’ dropbox? Did you know that Turnitin and Moodle assignment ‘Due Dates’ appear in a student’s Moodle Calendar and Upcoming Events? All students enrolled on a module will see the Resit Due Date regardless of whether they have a resit or not, which can cause confusion. If you restrict the Resit drop box to only those students eligible for resits, then it will ensure only the resit students see it in their Moodle Calendar.
In cases where you need to set up assignments for resits, you should restrict access to the relevant dropbox only for students who are eligible for resits. You can achieve this by adding the resit students to a Group and then restrict visibility of the dropbox to that Group only.
Method 1: Adding a Group restriction
- Create a manual group and add the resit students to the group.

- Then Edit Settings of the Turnitin assignment.
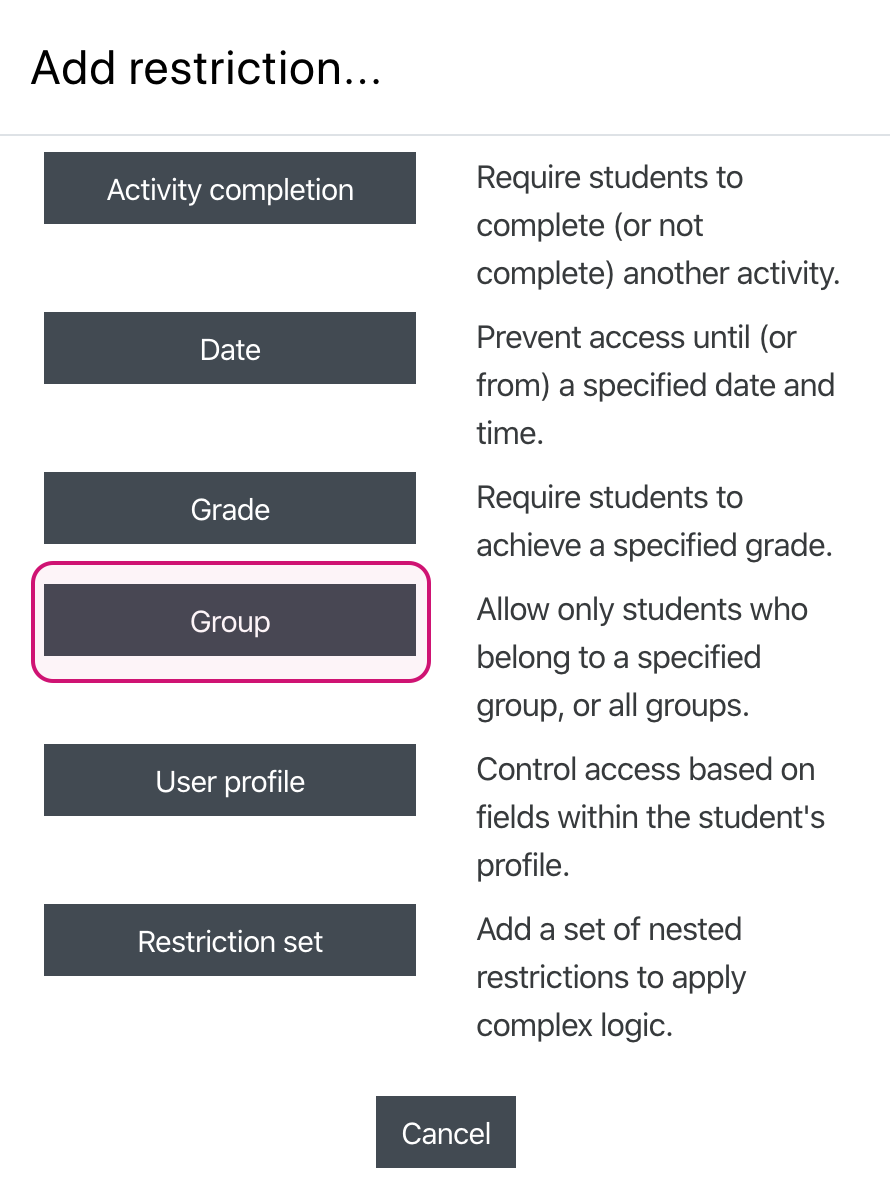
- Under Restrict Access, click ‘Add restriction‘.
- Select ‘Group‘.
- From the dropdown menu, select the Resit Group you created in ‘step 1’ above.

- Scroll down and click ‘Save and return to course‘.

Method 2: Adding a restriction for an individual student
It is also possible to restrict access to one or two individual students without having to create a Group. If you use this method then it is important to hide the student identities when you create the restriction so that the student identities are not shown on the course page.
- Edit the settings of the Turnitin assignment.
- Under Restrict Access, click ‘Add restriction‘.
- Select ‘User profile‘.
- To the left of the word ‘Student’ click on the eye icon so it displays a diagonal line on top . This will ensure the student id will not show on the main course page.
- For the ‘User profile’ field select ‘Email address‘ > ‘is equal to‘ > and type or copy the student email address into the box (make sure to include the ‘@brookes.ac.uk’).

- If you are using multiple restrictions, the eye icon should display a diagonal line on top and the second ‘match’ dropdown should contain the word ‘any‘.

- Click Save and return to course.
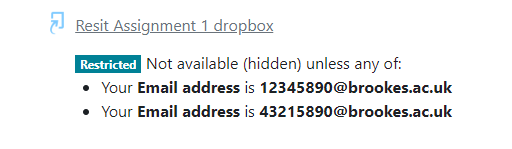
- The dropbox restriction message on the main course page should now include the word ‘hidden’, as shown: