How do I bulk upload feedback files to a Moodle Assignment?
How do I bulk upload feedback files to a Moodle Assignment?
Configure the Assignment activity
Firstly, check the Assignment activity settings page:
Figure 1. Enabling the feedback files options in the assignment settings.
In the ‘Feedback types’ setting section, Feedback files (1) and Offline grading worksheet (2) must both be selected.
Click on Save and display.
Click on the View all submissions.
Create student folders for feedback
From the ‘Grading action’ drop-down list, select Download grading worksheet.
Figure 2. Downloading the grading worksheet.
Open the downloaded spreadsheet.
If the Assignment has been configured to hide the student identities during the marking process follow the steps in PART A, otherwise skip to PART B.
PART A: Student identities hidden (“blind marking”)
Using the information contained within the downloaded spreadsheet (example illustrated below)…
…you will need to create a folder on your computer for each student with the following naming convention: Participant_idnumber_assignsubmission_file_(Using the example screenshot above, the folder for the first student in the table – row 2 – would be: Participant_6028356_assignsubmission_file_)
*** Skip PART B and got to Step 4 ***
PART B: Students identities not hidden
Using the information contained within the downloaded spreadsheet (example illustrated below) ……you will need to create a folder on your computer for each student with the following naming convention: Fullname_idnumber_assignsubmission_file_
(Using the example screenshot above, the folder for the first student in the table – row 2 – would be: Edward Green_6028662_assignsubmission_file_)
Once you have created folders for each of the students to whom you wish to give feedback, add any feedback files for each student to their respective folder (the feedback files themselves do not have to follow any specific naming convention).
When ready to upload your feedback files, create a zip file containing all of the folders that you have created.
Upload Feedback files
In Moodle, go to your Assignment activity and click on View all submissions.
From the ‘Grading action’ drop-down list at the top of the page, select Upload multiple feedback files in a zip.
Figure 3. Choosing to upload feedback files as a zip.
Drag your zip file into the ‘Upload a file’ area, or click on [Choose a file…] to browse for the zip file.
Figure 4. Uploading the zip file in Moodle.
Click on Import feedback file(s).
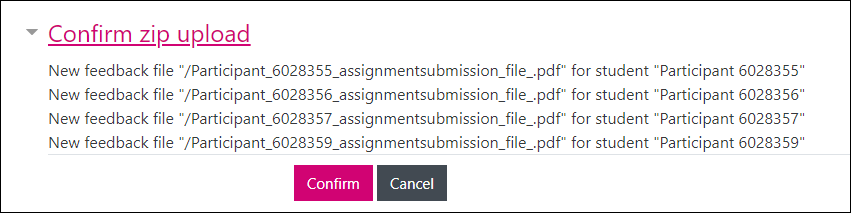
On the next screen, click on Confirm.
Figure 5. Moodle’s confirmation of a successful upload.
You’re then presented with a report page detailing how many feedback files were added. Click on Continue to return to the ‘View all submissions’ page.
In the submissions table, you will now notice that students have feedback files allocated to them.