Within a Moodle course, there are a number of course reports available to tutors to keep them informed of student engagement and progress.
Accessing the reports
From the course page contextual navigation, click on Reports.

Explaining the reports
Course completion

The Course completion report will display a table showing all students down the left hand-side and all selected course completion criteria along the top. The table data shows a series of check-boxes; ticked if the criterion has been met, unticked if not.
Logs
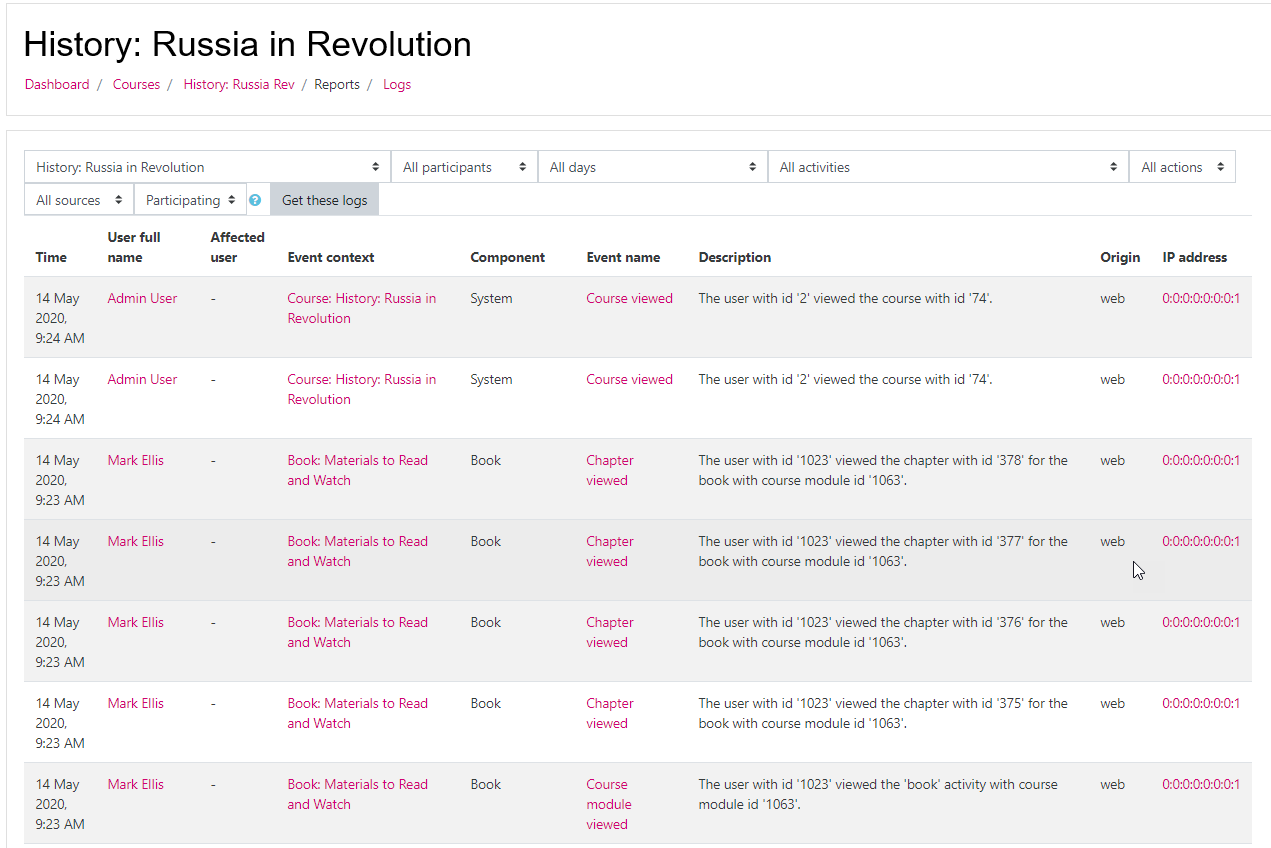
Essentially the Logs report provides an audit trail for any activity within the course.
Tutors are initially presented with a series of drop-down lists providing the ability to filter the log report; for example, filtered on a particular student, a particular day and/or a particular activity or resource.
Clicking on Get these logs will run the report and present the logs on screen.
Once the results are displayed, scroll down to the bottom of the page where results can be exported to a variety of formats; this is particularly useful if the report is split over a number of pages as it can be exported and opened in Excel to provide more powerful filtering options.
Live logs
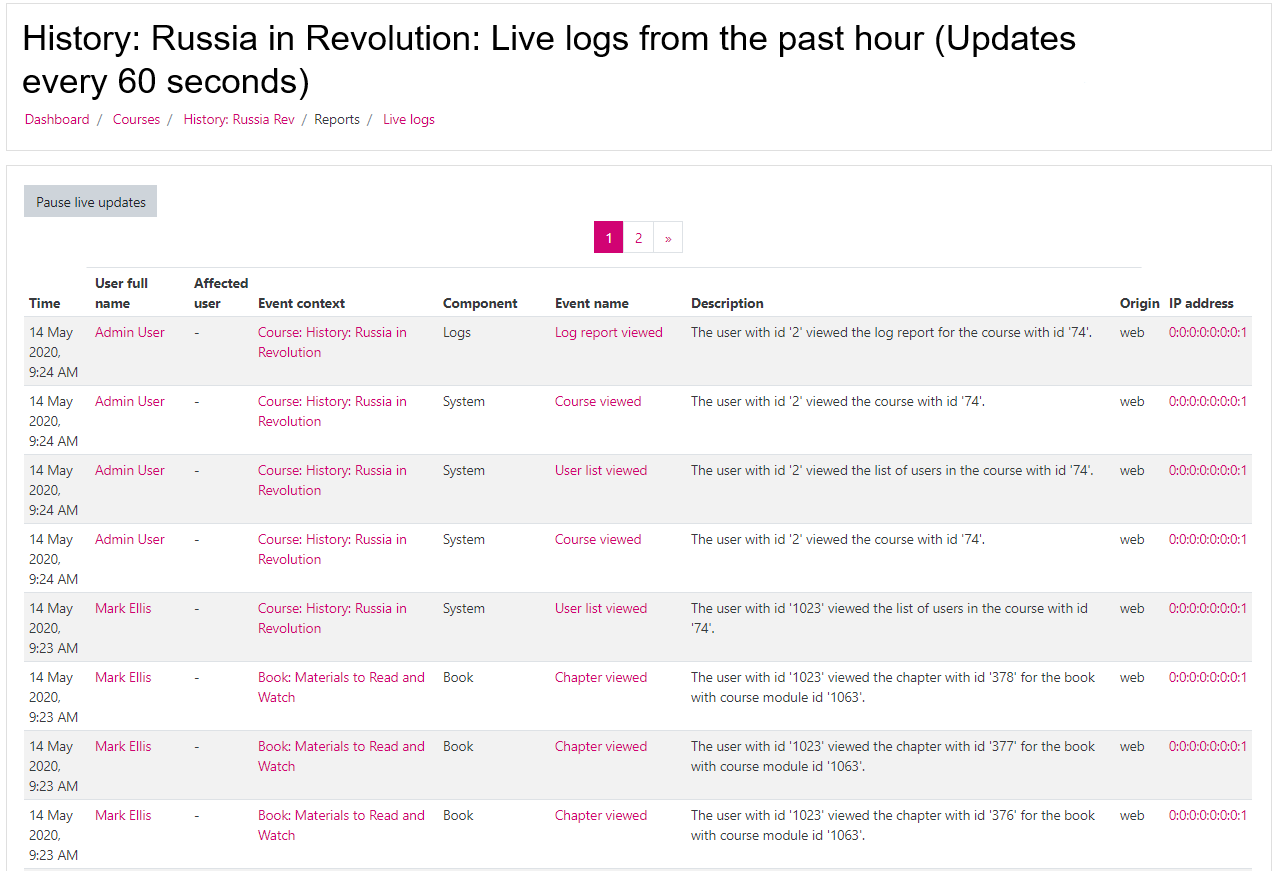
The Live logs report presents an audit-trail of the activity (logs) for the last 60 minutes in the course. The output is similar to the Logs report (explained above) but there is no provision for filtering or exporting the results.
Activity report

The Activity report is set out like the course page, listing all the activities and resources (by section) and detailing how many hits/views the activity/resource has had (and by how many unique users). It also details the last time that the resource/activity was accessed.
At the top of the report page, there is a Filter section which provides for filtering of the report based within specific dates.
Course participation

The Course participation report is a useful report providing a quick way to identify who has/hasn’t engaged with a particular activity/resource in the course; an email can then be sent to prompt those who have yet to engage (rather than send an email out to everybody in the course).
Tutors are initially presented with a series of drop-down lists from which the specific activity/resource can be selected. It is also possible to select how many days in the past should be included in the check and also which role should be included in the results (normally this would be Student).
The ‘Show actions’ drop-down list has three options (All actions, View and Post):
- View – this relates to a user accessing a resource to read or download it;
- Post – this relates to more active engagement from the student such as attempting a quiz or submitting an assignment (this is not just for checking if a user has posted to a forum discussion!)
Activity completion

The Activity completion report is a great way to monitor student progress in a course. The report is presented as a table with all the students listed down the left-hand side and all the activities/resources for which activity completion is being tracked displayed along the top. The table data is a series of check-boxes; ticked if a completion criterion has been met, unticked if not.
Once the results are displayed, scrolling down to the bottom of the page will reveal the option to export the results to a variety of formats; this is particularly useful if the report is split over a number of pages as it can be exported and opened in Excel to provide more powerful filtering options.
The exported report displays the text “Completed / Not completed” (rather than check-boxes) and the date of completion for each activity/resource. If ‘Expect completed on’ was configured in the activity/resource’s Activity Completion section, this date will also be included in a separate column.
Filtering reports on Groups

If Groups have been configured in a course, it is possible to filter the results of all reports (except the ‘Live logs’ report) on either All groups or a specific group via a drop-down list at the top of the report page; this drop-down list is either on its own or as part of the filter set, depending on the report.
If the ‘Groups’ filter is not available for any of the supported reports then the ‘Group mode’ for the course will need to be set to either Separate Groups or Visible Groups:
- From the course page, click on Settings from the course page contextual navigation (underneath the course title).
- Scroll down to the ‘Common module settings’ section.
- Set ‘Group mode’ to be either Separate groups or Visible groups.
- Click on Save and display.

You may also be interested in the following article(s):